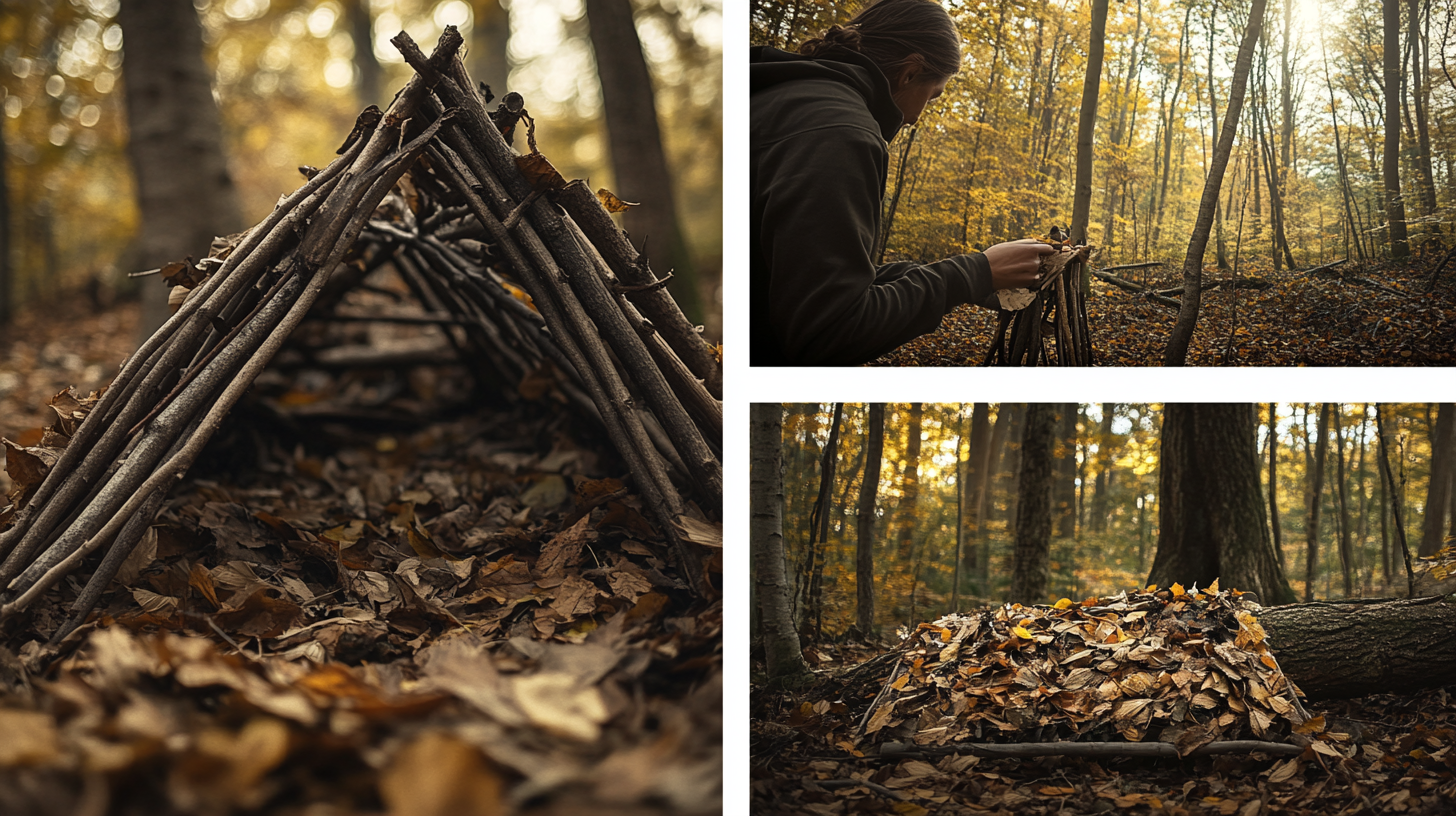
In a survival situation, shelter is one of the most critical priorities. It protects you from the elements, conserves your body heat, and provides a safe space to rest and recover. Here’s a step-by-step guide to building a survival shelter, tailored to different environments.
1. Assess Your Environment
Before starting, evaluate your surroundings to determine the best type of shelter for your situation:
- Forest: Plenty of natural materials like branches, leaves, and bark.
- Desert: Limited vegetation; focus on shade and windbreaks.
- Snowy Terrain: Insulation is key; snow can be used as a building material.
- Open Plains: Use terrain features like hills or depressions for wind protection.
Key Considerations:
- Weather: Prepare for rain, wind, or extreme temperatures.
- Time: Build a quick shelter if daylight is limited.
- Energy: Choose a design that matches your energy level and available resources.
2. Choose the Right Shelter Type
Here are three common shelter designs and how to build them:
A. Debris Hut (Ideal for Forested Areas)
A debris hut is quick to build and provides excellent insulation.
Materials:
- Long branch (ridge pole)
- Two Y-shaped branches (supports)
- Smaller sticks, leaves, and debris
Steps:
- Frame: Place the ridge pole between two Y-shaped branches to create a sturdy frame.
- Walls: Lean smaller sticks against the ridge pole to form a tent-like structure.
- Insulation: Pile leaves, grass, or other debris over the sticks to create thick walls.
- Entrance: Leave a small opening and block it with a bundle of debris at night.
B. Lean-To (Simple and Versatile)
A lean-to is easy to construct and works well in various environments.
Materials:
- Large branch or pole
- Tree or support structure
- Smaller branches and leaves
Steps:
- Support: Secure one end of the large branch to a tree or another sturdy support.
- Roof: Lean smaller branches against the main branch to create a slanted roof.
- Cover: Add leaves, grass, or a tarp to waterproof the roof.
- Windbreak: Position the open side away from prevailing winds.
C. Snow Cave (For Cold, Snowy Conditions)
A snow cave provides insulation and protection from freezing winds.
Materials:
- Deep snowdrift
- Shovel or digging tool
Steps:
- Location: Find a stable snowdrift away from avalanche-prone areas.
- Digging: Hollow out a cave large enough to sit or lie in, leaving thick walls and a domed roof.
- Ventilation: Create a small air hole to prevent suffocation.
- Insulation: Line the floor with pine boughs or other insulating materials.
3. Tips for Building an Effective Shelter
- Stay Dry: Avoid building in low-lying areas prone to flooding.
- Insulate: Use natural materials to trap heat inside the shelter.
- Secure Your Structure: Reinforce with extra branches or rocks to withstand strong winds.
- Test Stability: Ensure your shelter won’t collapse by gently pressing on the frame.
4. Shelter Maintenance
Once your shelter is built, maintain it to ensure it remains functional:
- Replace wet or damaged materials.
- Check for signs of wildlife intrusion.
- Adjust insulation based on changing weather conditions.
5. Practice Makes Perfect
Building a survival shelter is a skill that improves with practice. Try constructing different types of shelters in various environments to prepare for real-life scenarios. With the right knowledge and a bit of effort, you can create a safe haven in almost any situation.

